|
Creating styles: general procedure |
Scroll |
To create a new style, please to the following:
1.Depending on the type of objects the styles of which you will be working with, run from the menu Setup — Style Library one of the following commands:
 Line Styles...,
 Hatch Styles...,
 Text Styles....
The style sets and libraries dialog will appear on the screen.
2.Select the location of the new style.
For this, use the Show Library... buttons  , Show set...
  or Show Document
  . You can also create a library or a set (see section Creating style libraries and sets) for placing a new style.
3.Click the Create  button.
Please note that you can only create a new style in the current document or set if the Embedded tab is active. After you press Create, the object style setup dialog box will appear on the screen. Working with the Create Line Styles dialog is described in section Setting up a custom line style, with the Create Hatch Styles dialog — see Section Setting up a custom hatch style, with the Create Text Styles dialog — see Section Setting up a custom text style.
4.Set up the parameters of the new style and click OK to close the dialog box.
The name of the new style will appear in the active preview window in the style sets and libraries dialog. You can edit the new style or copy it to another place: to a library, to a set or to the current document.
You can also create a new line, hatch or text style in the current document when you create or edit an object: a curve, a hatch or a text.
When you create or modify a curve to create a new line style, please do the following.
1.Expand the Style list on the Parameter Panel and select Other style.
The line style selection dialog box will appear on the screen.
|
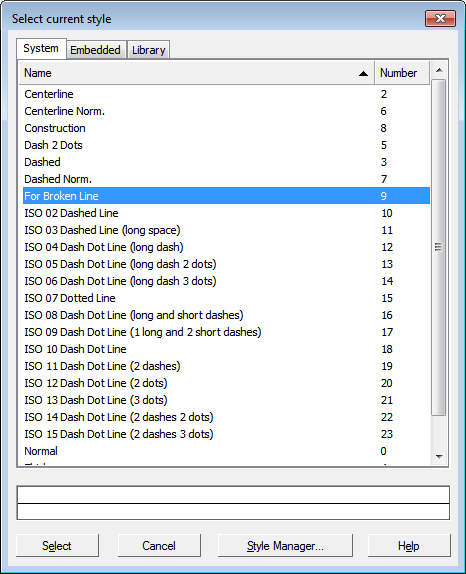
2.In this dialog box, press the Style Manager... button.
On the screen, there will appear the Line style manager.
3.In the Line Style Manager, click the New Style button.
The line style setup dialog box will appear on the screen. Working with it is described in section Setting up a custom line style.
4.Set up the parameters of the new style and click OK to close the dialog box.
5.The name of the new style will appear in the list in the Line Style Manager window. Click OK to close the Line Style Manager.
The name of the new style will appear in the style selection dialog box on the Embedded tab. Click Select to assign this style to the current curve.
When you create or modify a hatch (text) to create a new hatch (text) style, please do the following.
1.Expand the Style list on the Parameter Panel and select Other style.
The style selection dialog box will appear on the screen. In the figure below, an example of the hatch style selection dialog is provided. The text style selection dialog is similar to it. By default, the list of styles of the document is displayed in the style selection dialog box (according to the row in the top of the dialog box).
2.If this is not the case, please press the Document button in the Show group.
3.Activate the Embedded tab and click New....
|
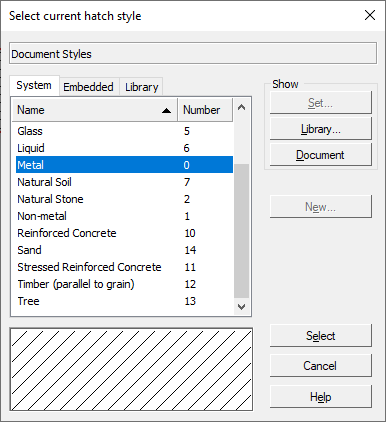
Hatch style selection dialog box
The object style setup dialog box will appear on the screen. Working with the Create Hatch Styles dialog is described in section Setting up a custom hatch style, and for more details on using the text style creation dialog box, see Section Setting up a custom text style.
4.Set up the parameters of the new style and click OK to close the dialog box.
The name of the new style will appear the list on the Embedded tab. Click Select to assign this style to the current object.
Styles that have been created when creating or editing an object are no different from styles created in the style sets and libraries dialog box.