|
Brace |
Scroll |
Use the brace for indicating fragments created by the Brace  command.

Step-by-step instructions
1.Select the orientation of brace, having pressed the required button in the Orientation group:
 Arbitrarily,
 Horizontally,
 Vertically.
2.Specify the Parameters of curly bracket: method of label placement, rounding radius, etc. Elements of the section Additional parameters are used for this.
3.Set the snap points of a brace with one of methods.
•Specify the first and second snap points.
•If horizontal or vertical orientation of a bracket is selected, specify the first snap point and set the bracket length in the Length on the Parameter Panel.
•If orientation of a bracket is arbitrary, specify the first snap point, set the length and slope angle of bracket in the the Length and Angle fields.
Please note that the Minimum length of shaped bracket Depends on the rounding radius value.
After indication of snap points, a phantom of the bracket will appear in the graphic area.
|
For precise cursor positioning and setting parameters during construction, you can use Snaps and geometrical calculator. |

4.Set the direction of a brace. For this purpose, click a mouse from one or other side from the straight line connecting the snap points.
If placement of a caption on the landing is selected, then the specified point defines the direction of a brace and the origin of the leader line. In this case it is necessary to specify a point of origin of the landing.
5.After setting the direction of a brace, the Add Text subprocess starts automatically. Generate a caption designation. Upon completion of the Add Text subprocess, creation of a brace automatically ends.
6.To complete operation of the command, click Finish  .
.
|
|
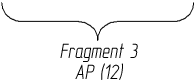
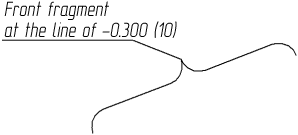
Examples of braces
See Also